We're back from our hiatus!
 |
| Figure 1. A deliciously red velvet cupcake. |
For our birthdays, it was between cheesecake and red velvet cake. Upon finding a cheesecake pan on sale, we decided on cheesecake. Now, even though both of our birthdays have passed, we still sort of had a taste for red velvet cake, so we decided to revisit it, but this time in cupcake form.
 |
| Figure 2. Our NFPA Ratings for red velvet cupcakes. |
Difficulty - This recipe was pretty simple, especially for how well it turned out. We were afraid we were doing it wrong the whole time, because our mixture looked goopy and oily until it was cooked. Additionally, all that red made our uncooked cupcakes look like blood. Fortunately, our cupcakes puffed up in the oven, thus validating our process.
Course - Dessert, or sugary snack if your id compels you. Also an acceptable midnight snack.
Prep time - It took us about an hour, but looking back, we are not sure why. The recipe just involves mixing a large variety of ingredients together, pouring the mixture into cups, baking them, and frosting them. In reality, it will probably take you 45 minutes.
Materials
 |
| Figure 3. The dry ingredients. |
Cupcakes
1) All-Purpose Flour - 3/4 cups
2) Cocoa Powder (no Dutch Cocoa) - 1 tbsp
3) Baking Soda - 1/3 tsp
4) Salt -1/4 tsp
5) Buttermilk - 1/4 cup
6) Red Food Coloring - 1/2 tbsp
7) Milk - 1 tbsp
8) Olive or Vegetable Oil - 1/3 cup
9) Applesauce - 1/8 cup
10) White Vinegar - 1/4 tsp
11) Vanilla Extract -1/4 tsp
12) Cupcake foil holders
 |
| Figure 4. The wet ingredients. This is where it starts getting creepy. |
Frosting
1) Unsalted Butter - 4 tbsp / 1/2 Stick, softened
2) Cream Cheese - 1/2 bar (4 oz)
3) Confectioner's (a.k.a. Powdered) Sugar 2-2 1/2 cups
4) Vanilla Extract - 1/2 tsp
Procedure
Cupcakes
1) Preheat your oven to 350º F.
2) Put the buttermilk in a mixing bowl.
3) Add in the food coloring, milk, oil, apple sauce, vinegar, and vanilla extract, and mix it all together (Figure 4).
4) In a separate bowl, sift the flour, cocoa powder, and baking soda (Figure 3). Add salt and mix in.
 |
| Figure 5. The final mixture. Yum....NOT...yet... |
(Figure 5).
6) Line a muffin tin with foil cupcake holders.
7) Divide the batter evenly among the wrappers (Figure 6).
8) Place your muffin tins on the top shelf of your oven. Cook large cupcakes for about 20 minutes, and mini cupcakes for approximately 10 minutes.
Frosting
1) Whip the butter and cream cheese together for 3-4 minutes
2) Add the sugar in small increments and the vanilla extract. Mix until it's not too thick, but before it becomes to soft.
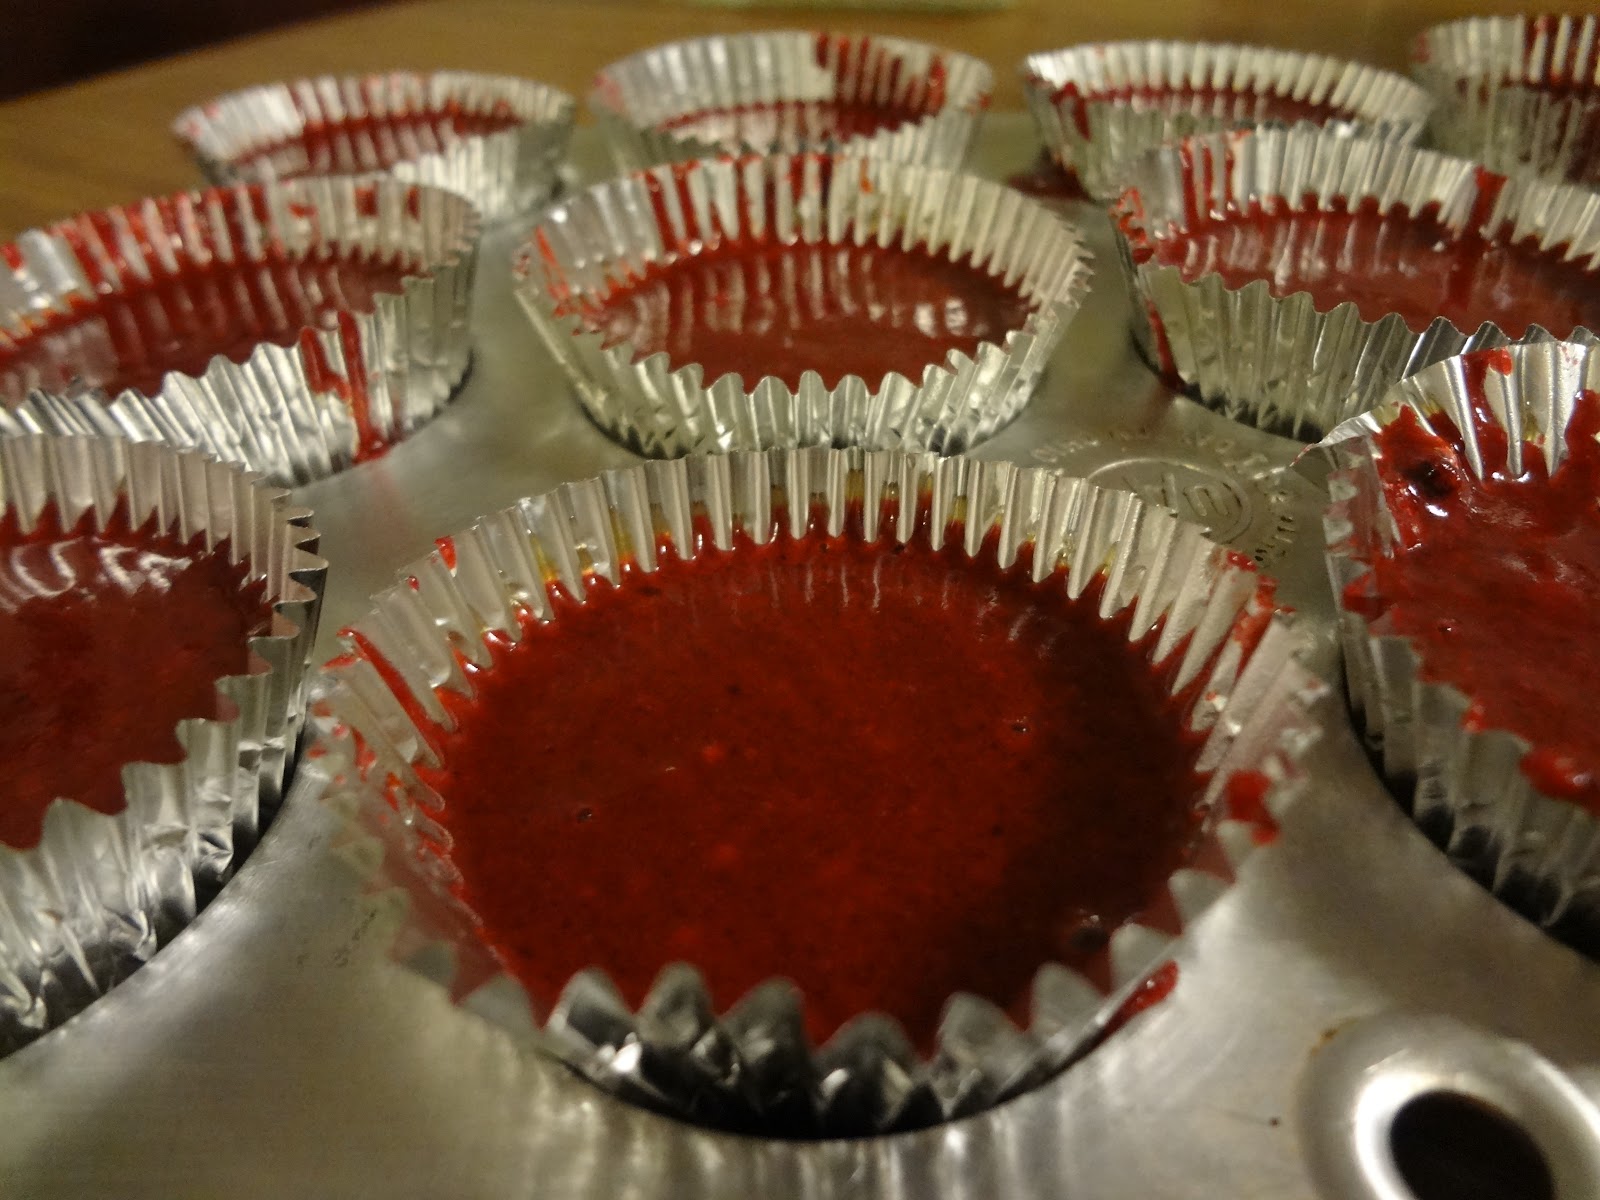 |
| Figure 6. Don't pour to the top. Leave room for puffiness. |
Cupcakes
9) Remove the cupcakes and let them cool completely (Figure 7).
10) Pipe on or spread frosting
11) Store in refrigerator.
Recipe will yield 6 large cupcakes or about 15 miniature cupcakes.
Results
Before we get into our results, we have to admit to a tiny indiscretion. Instead of making the frosting as described in the recipe, as easy as said recipe looks, we decided to use store-bought cream cheese frosting. We won't lie...it was goooood. All things considered, actually making the frosting ourselves would not have been much more of an addition to our responsibilities. Whatever, this was faster.
 |
| Figure 7. Baked cupcakes. They look brown...but it's the lighting |
Note: While these are delicious straight out of the oven, these are equally, if not more, delicious straight out of the refrigerator the next day.
Other noteworthy points about this recipe are that 1) it has way less sugar than other stuff we've baked, and 2) you don't really need the sifter. We don't have a sifter and our cupcakes were still light and fluffy.
 |
| Figure 8. The final product, complete with our store-bought frosting. |
You may think that all you have to thank for the red velvet cake's rich redness is the food coloring it contains. Big deal, right? Add a few drops of red food coloring into anything, and voilà, you have red velvet everything you ever wanted! Red cookies? Food coloring. Done. Red pancakes? Food coloring. Done. Red celery? Food coloring. Done.
But wait, red velvet cake contains something special that brings the redness forth independent of the food coloring. Part of that red color comes from a chemical reaction that happens right in your mixing bowl.
Cocoa contains a chemical called anthocyanin. Anthocyanin is an antioxidant and natural pigment that is found in plants. It is present in all sorts of berries, purple grapes, red cabbage, pomegranates, several flowers such as violets and pansies, and, of course, the cacao tree. The color anthocyanin emits depends on the pH of the environment in which it is found. In low pH conditions (i.e. in acids), anthocyanin emits a bright red color. As you raise the pH, it shifts to purple, takes a turn past blue and green, and ends up at a bright yellow (Figure 9).
 |
| Figure 9. Anthocynanin over a range of pH values. |
It is absolutely wrong to use Dutch cocoa for your red velvet cupcakes. Why? Dutch cocoa is alkaline because of how it is processed. If you use Dutch cocoa, your cupcakes will turn brown.
 |
| Figure 10. The leftovers... |
1. Beaird A. ""Chemistry in Cake: Putting the Red in Red Velvet Cake". ChEnected. October 2012
2. Lassi(e) C. "Eggless Red Velvet Cupcake with Cream Cheese Frosting". Pan Gravy Kadai Curry: Tasty Tales from a Flexitarian Foodie. July 2012.
No comments:
Post a Comment